
🍿 Running Out of Shelf Space? Take Your Movies to the Cloud!
Are you a physical disc collector or a Home Theater enthusiast? DVD and Blu-ray discs look beautiful on a shelf, but they take up space, get scratched, and let's face it—disc players are becoming a thing of the past!
Today, UFlix will show you how to rip your beloved physical media into digital files so you can stream them anywhere, while keeping that pristine master quality!
1️⃣ Extracting the Master File with MakeMKV 🧙♂️
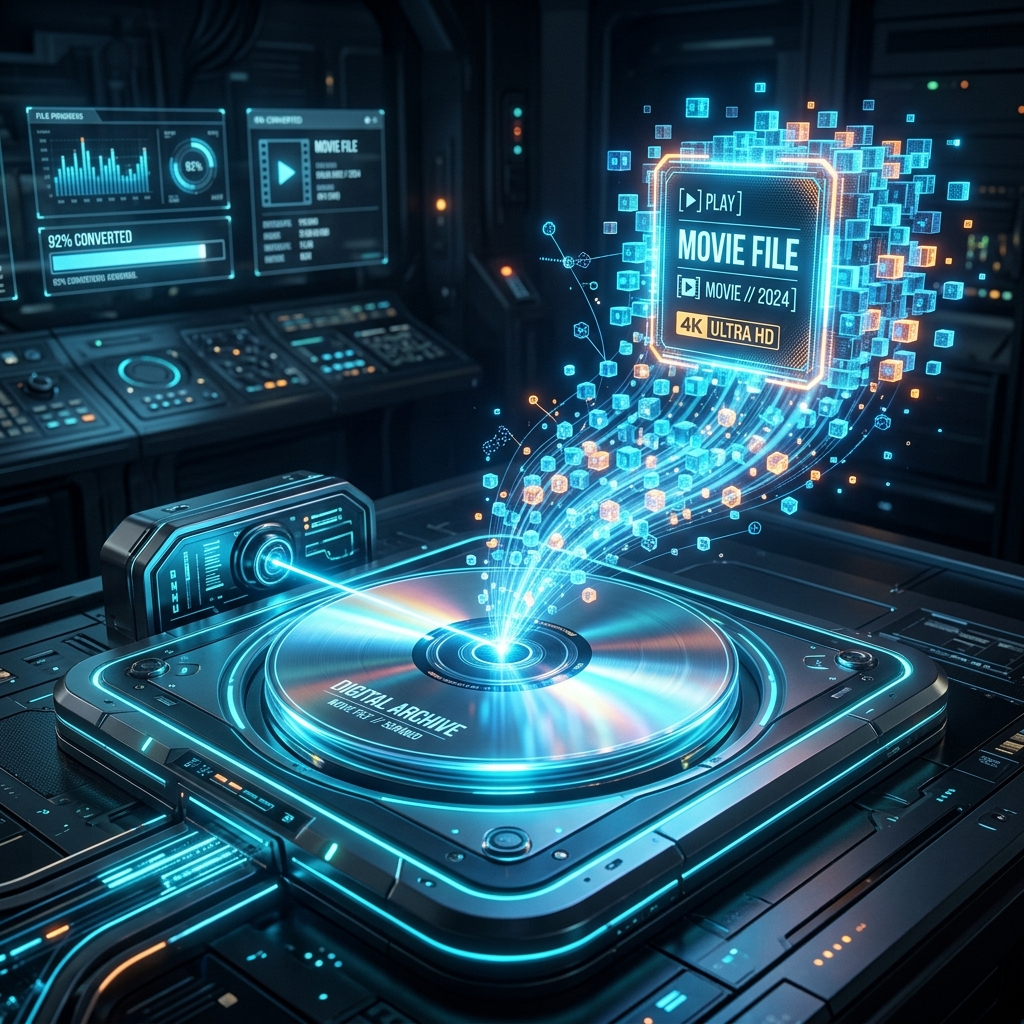
The first step is a 1:1 lossless copy of your disc to your computer.
- Download Free Tool: MakeMKV Official Website
- Step-by-Step Guide:
- Insert your DVD/Blu-ray and open MakeMKV.
- Click the giant "Disc" icon in the center to let the software read the disc.
- Once scanned, you'll see a list of titles. Check only the largest file/longest duration (this is the main movie, the rest are usually behind-the-scenes clips).
- Set your Output folder on the right side.
- Hit the Make MKV button (the hard drive with a green arrow) and go grab a coffee! ☕
- The Result: A perfect
.mkvfile with 100% master-quality video and audio.
[!NOTE] A raw Blu-ray file can be 30-50GB per movie! Don't panic, we'll shrink it down without losing quality in the next step.
2️⃣ Shrinking the File with HandBrake 🗜️
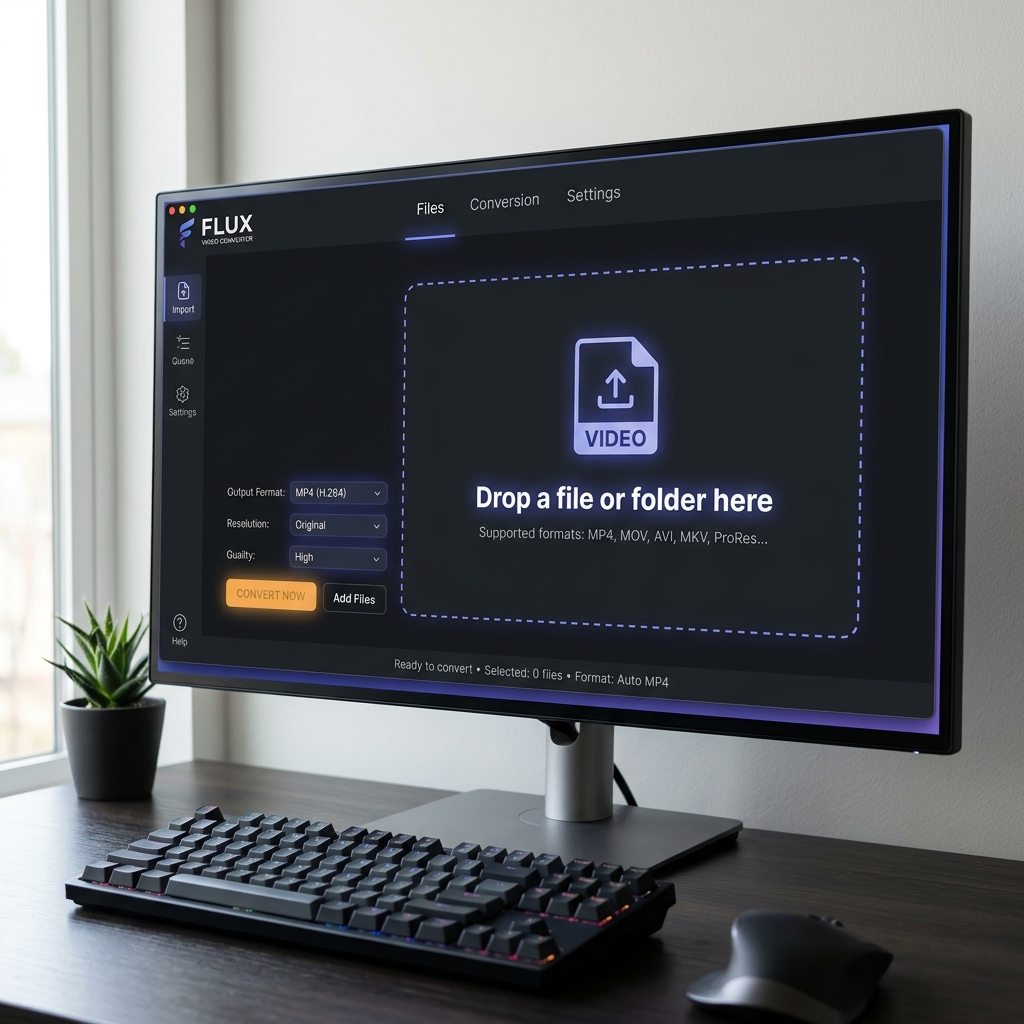 (Skip this if you have unlimited storage!)
Compressing the video shrinks the file size by up to 80%, ensuring smooth internet streaming with virtually unnoticeable quality loss.
- Download Free Tool: HandBrake Official Website
- The Best Settings Guide:
- Open HandBrake and drag-and-drop your
.mkvfile. - Look at the Presets menu (top toolbar):
- For DVDs: Select
General>Fast 1080p30orFast 720p30 - For Blu-rays: Select
General>HQ 1080p30 Surround
- For DVDs: Select
- Go to the Video tab. Ensure
Video Encoderis set toH.264 (x264). If you have a powerful graphics card, selectingH.265 (x265)will make the file even smaller. - Name your new file in the Save As box at the bottom.
- Click Start Encode (Green Play button) 🚀.
- Open HandBrake and drag-and-drop your
- The Result: Your massive 30GB movie is now a sleek 3-5GB file!
3️⃣ Upload to Google Drive & Play via UFlix ☁️📺
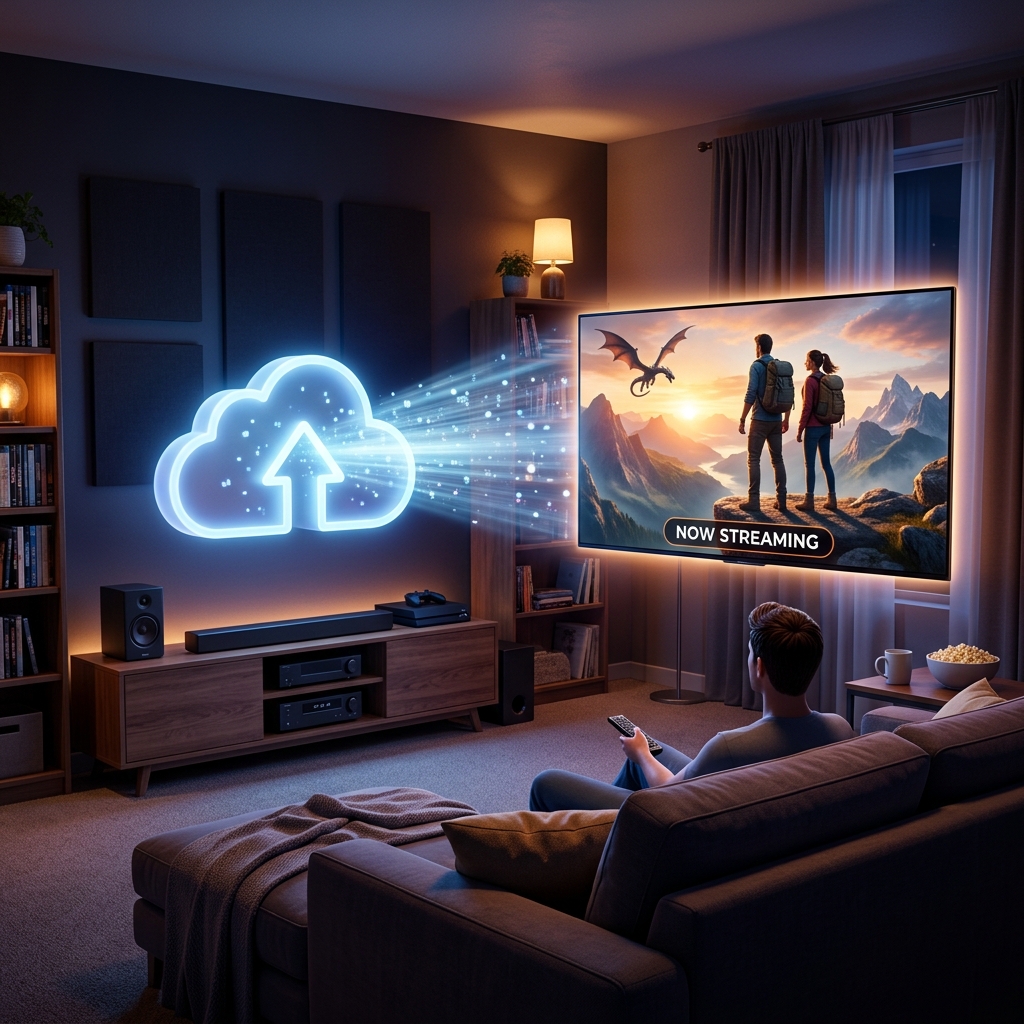
Get your popcorn ready! The final step is the easiest.
- How to do it:
- Drag the compressed video file into your Google Drive.
- Log into the UFlix web app (using the same Google account).
- UFlix will instantly organize your files into a beautiful library, automatically fetching cover art and synopses!
[!IMPORTANT] Why UFlix? Zero ads, uses zero storage on your phone, and gives you 100% privacy (files stay safely in your personal Google Drive, inaccessible to anyone else).
And just like that, you've transformed your physical movie shelf into your very own personal streaming service! 🌟