
Have you ever run into this frustrating problem? You’ve got this awesome video file (maybe an .mkv, .avi, or .mov), you upload it to a web host, grab the link, and embed it into your streaming site or online course platform... and then, nothing. The player is just a black screen! 😱
Don't panic! This is completely normal. The web browsers we use every day (like Chrome, Safari, and Edge) can be pretty "picky." They simply aren't built to read these older or heavier video formats natively. The only way out of this is to give your videos a quick makeover (transcoding) to meet modern web standards.
And the superhero we're bringing in to save the day is the legendary software: HandBrake!
Why HandBrake?
Long story short: It’s free, it’s powerful, and it handles EVERYTHING! HandBrake is the go-to open-source transcoder for web developers and video creators worldwide. No matter what crazy format you throw at it (from old DVDs to raw 4K camera footage), HandBrake can read it!
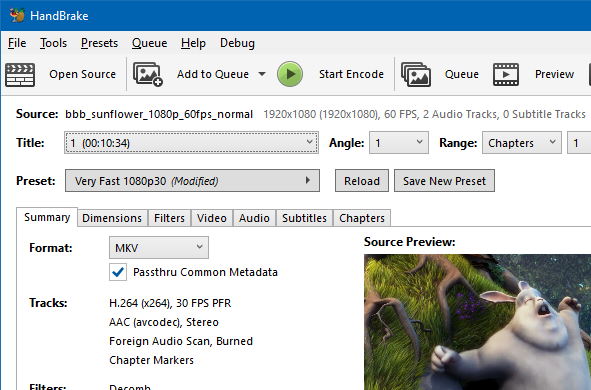
Alright, grab your computer, download and install HandBrake (it's 100% free) from here 👉 Download HandBrake (https://handbrake.fr), and let's go through this step-by-step together. Let's dive in! 🚀
Step 1: Just Drop It In!
Open up HandBrake. The interface might look a bit intimidating at first, but don't worry, we only need a few buttons. First things first, grab that unplayable video file of yours and simply "Drag & Drop" it right into the middle of the program.
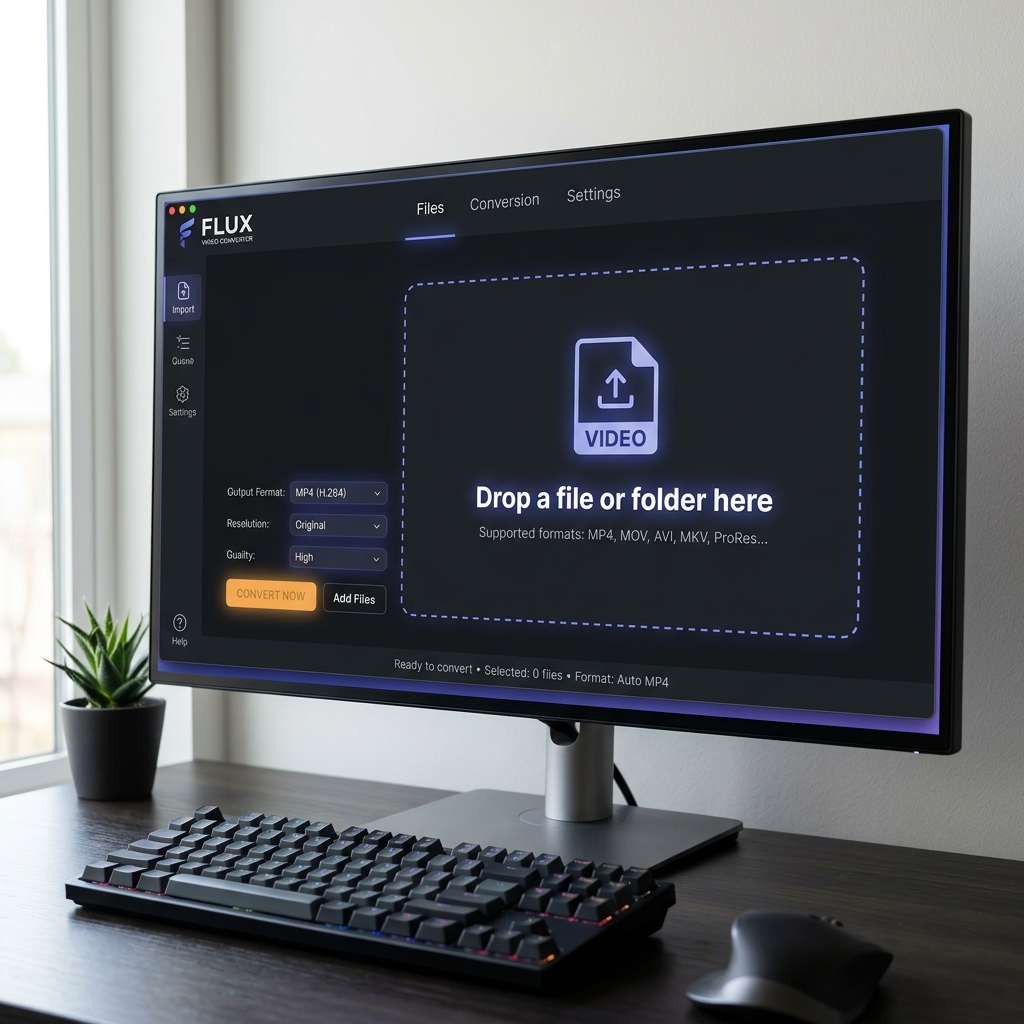
💡 Quick Tip: If you have an entire folder of videos you want to convert at once, you can drag and drop the whole folder! Super convenient.
Step 2: Choose the Perfect Format (MP4)
Once HandBrake loads your file, take a look at the Summary tab. This part is crucial! We need to tell the software to convert the file into a format that web browsers absolutely love.
Find the Format dropdown menu and select MP4.
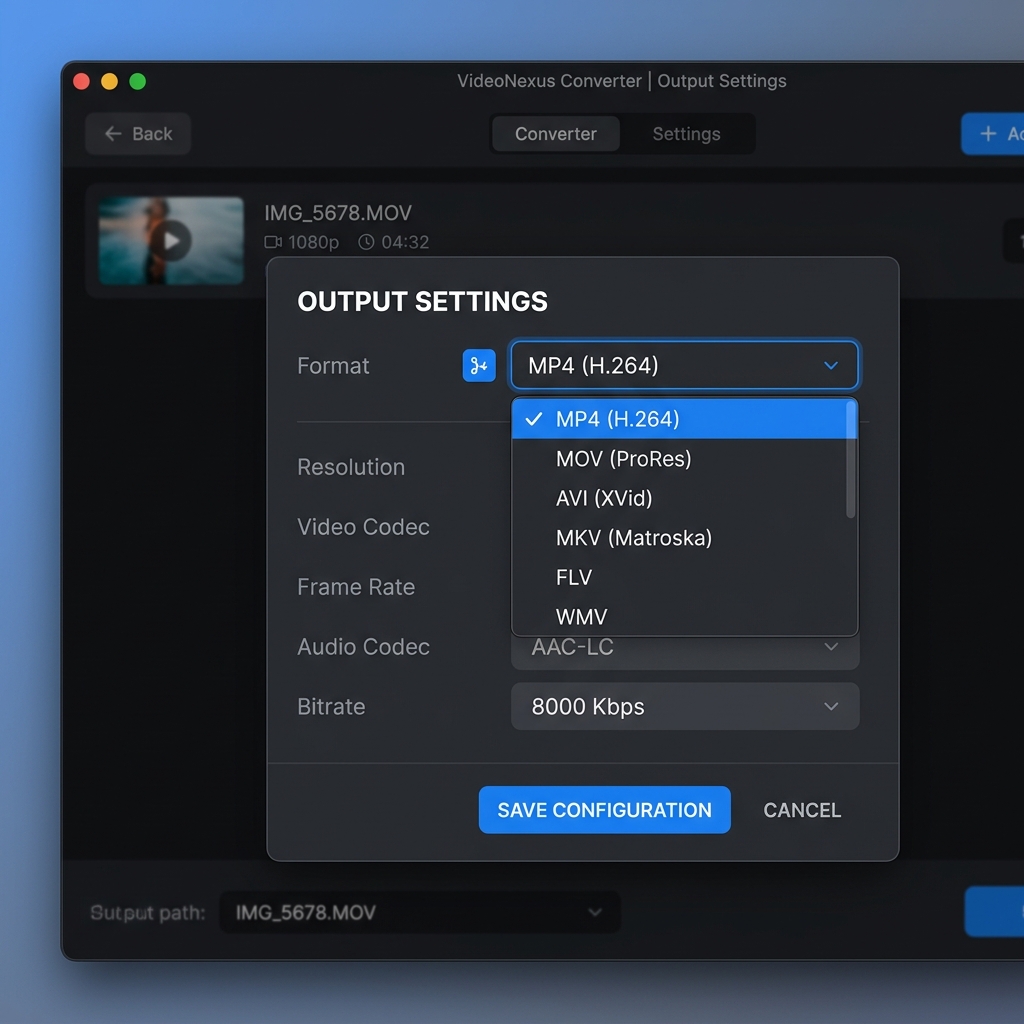
Why MP4? Because it's the undisputed king of web video! Whether your viewers are watching on a laptop, an iPhone, Android, or even a Smart TV, MP4 will play flawlessly 100% of the time.
Step 3: Pick the Right Video Codec (H.264)
Next, click over to the Video tab.
Here, we are going to choose our "compression technology." Look for the Video Codec dropdown and set it to H.264 (x264).
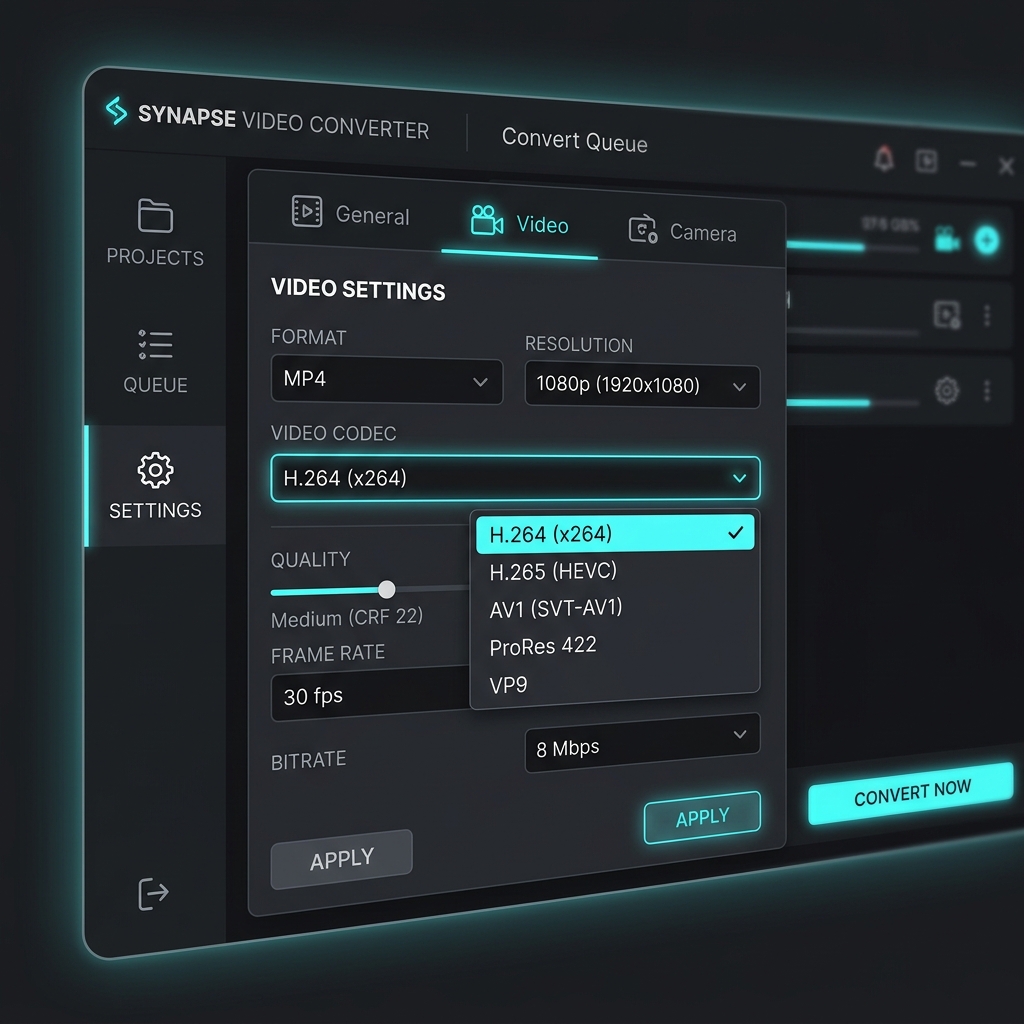
You might be thinking, "Wait, why not choose H.265? Isn't that newer?"
Yes, H.265 is better at compression and makes smaller files. BUT!! Many web browsers still do not support H.265 natively. If you use it for web streaming, some of your users will just see a blank screen. Therefore, H.264 is your safest bet to guarantee that everyone who clicks your link can watch the video smoothly!
Final Step: Let It Encode!
Once you've set those two things (Format = MP4, Codec = H.264), go down to the 'Save As' box at the bottom, give your new file a name, and hit that green Start Encode button at the top!
Now, go grab a cup of coffee while it does its magic. When it's done, you'll have a beautifully compressed, web-ready video file that you can host anywhere and stream effortlessly! 🎉
😎 Bonus Secret (Just between us): If you're too lazy to download software and convert files yourself... try uploading your raw videos directly to Google Drive!
The secret is that Google Drive's servers have an automatic transcoder built-in! As long as you use a smart frontend platform like UFlix to fetch the video, you don't need to convert anything yourself. It really doesn't get any easier than that! 😆